


Enrolment/Registraiton

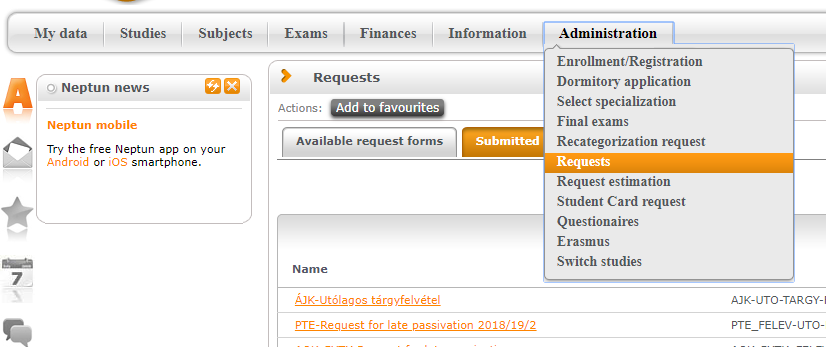
You will find the enrolment request and the registration window (activation/passivation) in the Administration/Enrolment/Registration menu. After clicking on the menu button, the current and former registration periods will appear but only the current period has a ’+’ symbol at the end of the line. You have to click on this symbol and then choose Register from the pop-up list.

You can only enrol/register in the time period set in the particular training program. You can check these periods in Information/Periods. If Register option (’+’ symbol) would not show up, that could also mean other administrative issues. In this case, you are advised to consult with your respective Registrar’s Office.
In the local menu, new students will see the Enrolment option, while other students will see the Registration option. In either cases, the next step is to set the status of the current semester. There may be registration requirements for the statuses (e.g. in case of tuition-paying students, payment of 40% of the tuition fee is a prerequisite for registration for an active semester).
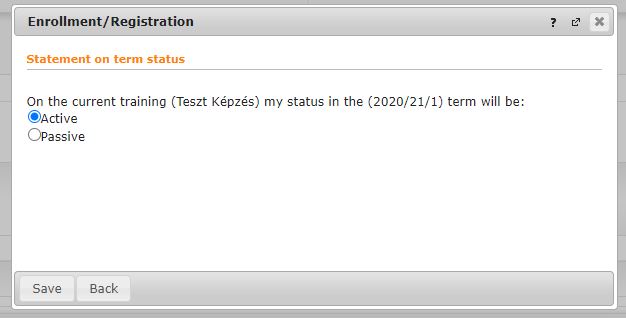
If you have unmet criteria, the system will show an error message explaining the problem after you click on Save. Upon successful registration, the current semester will be created with the status set. No additional steps are required after Registration by senior students. In Enrolment process, the Matriculation Card will pop-up, which you have to fill in and submit.
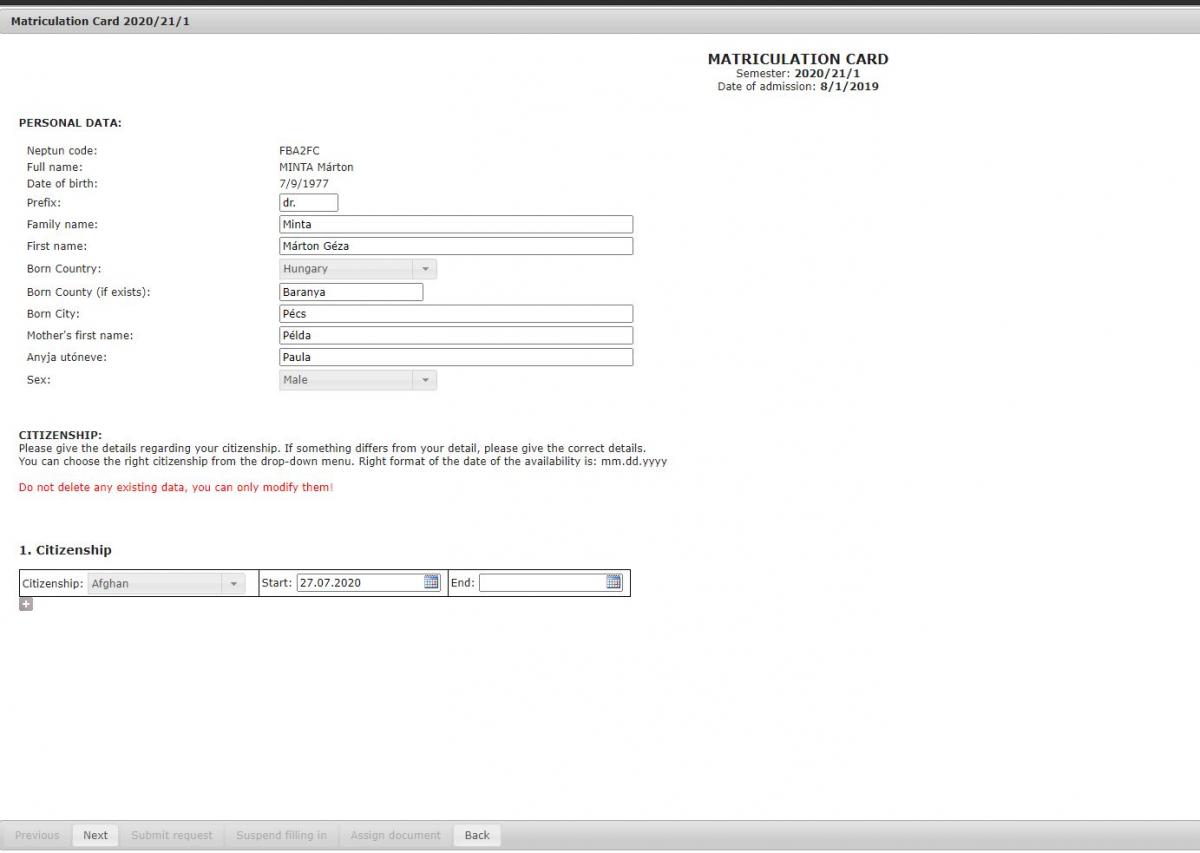
The Matriculation Card includes the information of the student already stored in the system. Most important data:
- perosnal data
- citizenship
- contact information (address, e-mail, telephone)
- official data (bank account, IDs)
- previous studies (high school, bachelor’s degree, etc.)
- training data
- statements
The Matriculation Card consists of more than one pages according to data topics. You can flip pages with the Previous and Next buttons at the bottom of the page. You can not suspend the Card. You can only attach documents where applicable.
![]()
In each topic, you can enter data in a text box, drop-down list, or bound format field. Contents that appear in the text box can be modified if blank or incorrect data is displayed. For drop-down lists you can choose from a predefined set. For example, a fixed format field is the date field, where only the format (22.02.2000) can be specified, or the institution selection field (e.g. high school institution name) where the institution name is typed into the field to display a list of available items. These fields may be filled in but the Matriculation Card will not be submitted with the correct format and you will receive an error message when submitting the request.
You can, or in some cases, you must attach the relevant documents to particular topics. You can attach a document by clicking the Attachment button in the last row of the tables that appear. Blank required fields are highlighted in red after the submission attempt.
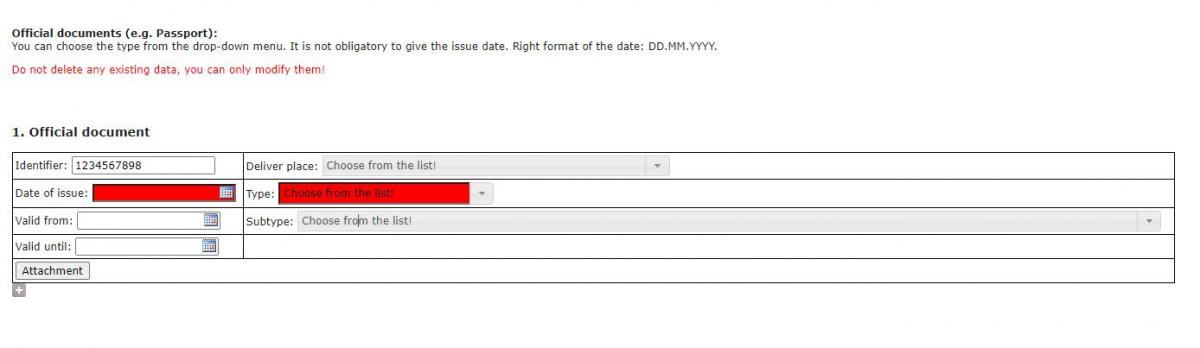
For tables, it is possible to specify additional topics. For example, to enter a second bank account number, you can do so by clicking the ’+’ symbol below the table that appears. If you intend to delete some of your contact information, you can do so by checking the ’To be deleted’ checkbox below the table (simply erasing the information from the table will not delete it). You can not delete your citizenship information and official documents, only your contact information.

While completing the Matriculation Card, the program stands in idle mode, during which it runs a 20-minute countdown. You have to complete your Matriculation Card within this timeframe, therefore we strongly recommend to have your documents in pdf or jpg saved on your computer and prepare your IDs and personal data to speed up the process. Such documents are e.g.: identity documents; evidence of formal qualifications: baccalaureate, tertiary education, etc.
You can check every information on the preview page after the last page of the Matriculation Card. From this page, you can still go back to rectify incorrect data.
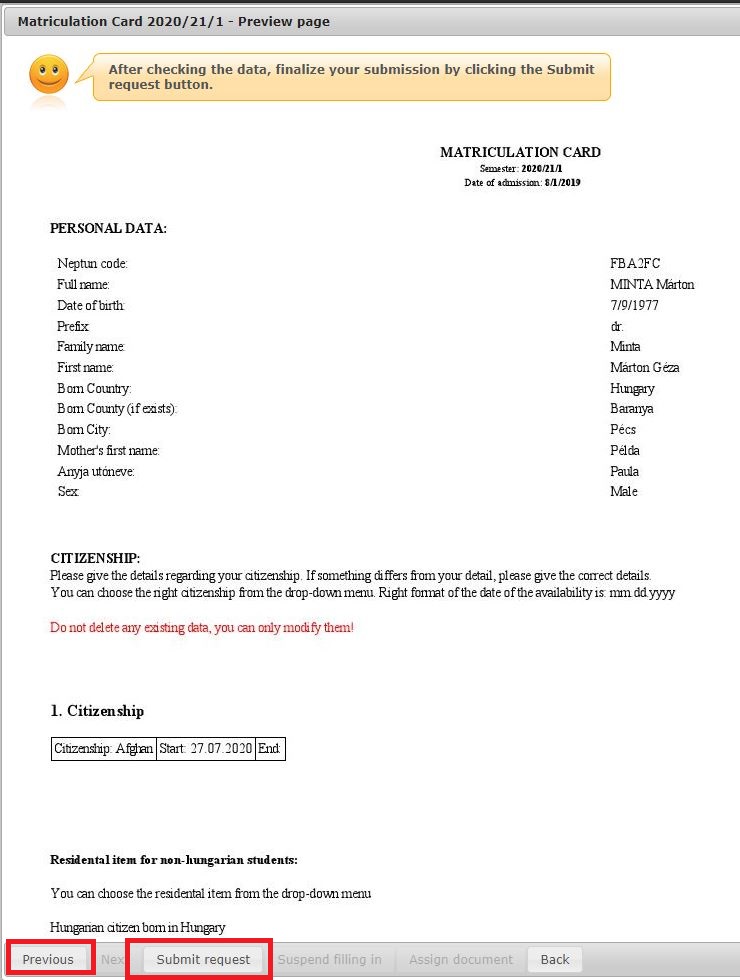
You can submit your Matriculation Card by clicking on the Submit request button at the bottom of the page.
Once you have provided all the necessary information and attached all required documents, you can submit the Matriculation Card. After submitting your request, a confirmation message will inform you about the successful submission and the application number you have received.
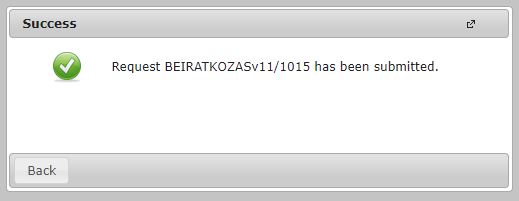
When you click the Back button in the confirmation message, a new window will appear prompting you to print your Matriculation Card.
By clicking Yes, the browser will download or display (depending on the setting) the enrolment form in printable format.
Print your Matriculation Card, sign it and post it to your respective Registrar’s Office. You can always print your Matriculation Card from the Submitted request tab in Administration/Requests menu.
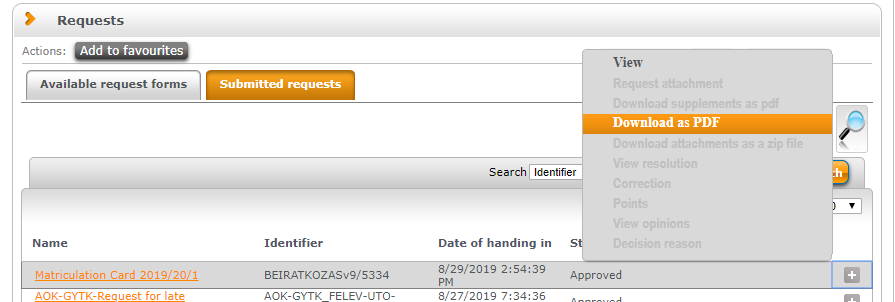
Click on the ’+’ symbol at the end of the request’s line to view your Matriculation Card and its printable form.
Be aware that if you click on the View button, you will see the submitted Matriculation Card, which is not identical to the official printable form! You can download the printable version, which needs to be signed and posted to the Registrar’s Office by clicking on the Download as PDF button.
The Registrar’s Office accepts the Matriculation Card only if they received the official printed and signed form and the information contained therein are true and correct as recorded in the request and the attached documents.
If you fail to fill in the request, then the request is interrupted and you have the opportunity to continue or restart it. When you start again, any previously saved field contents or documents attached to the application will be lost.